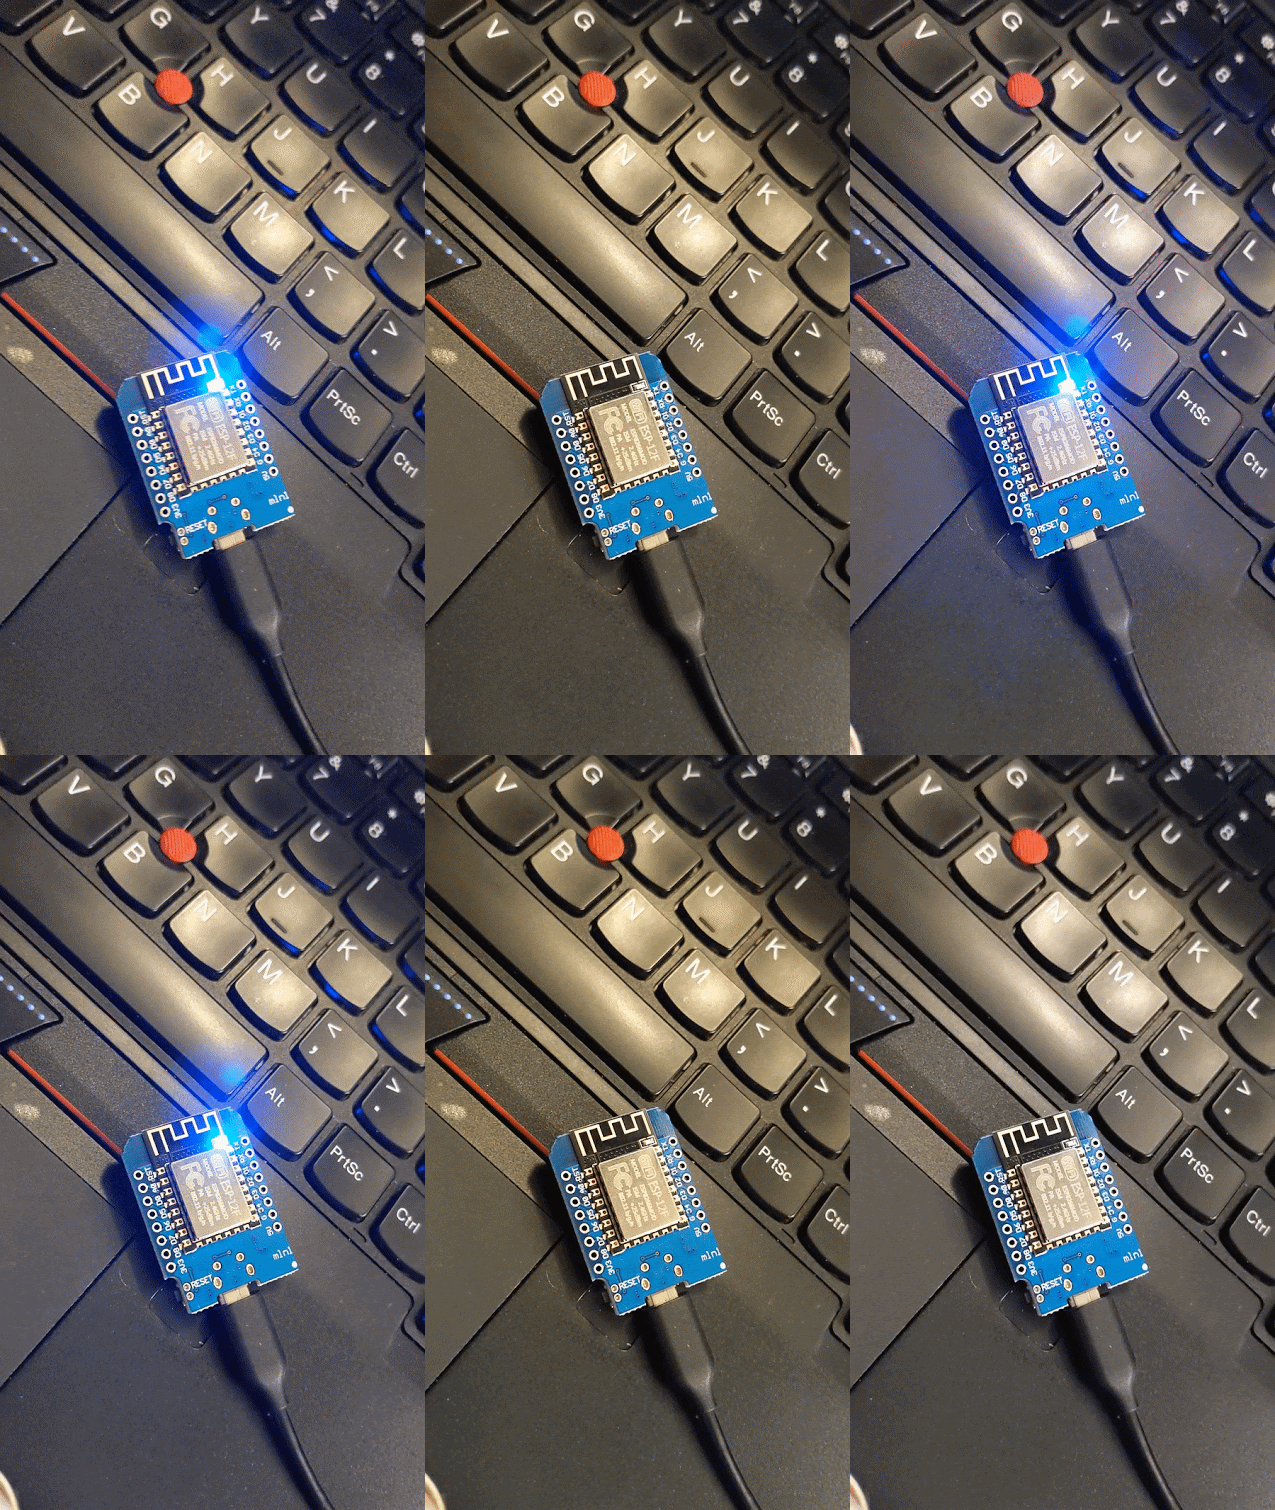
Getting Started with ESP8266: Blink
There’s a lot of different resources out there in terms of how to get started with Arduinos, ESP8266, Home Automation, and more: but this data is rarely in one place. My goal with this series is to get up and running and using the ESP8266 for the first time. I will explore how to make connections to other web services and do a some home-automation in my own real-world exercises. Thanks for joining me!
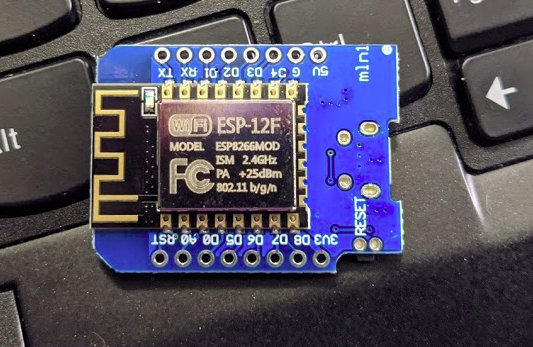
I am using the ESP8266 development board. I got this one on ebay, you can try searching terms like “ESP8266 Development Board” or “ESP8266 with USB”. They can cost anywhere from 5 to 12 USD.
Step 1: Install Arduino IDE
I’m running Linux PopOS!, which is an Ubuntu-based Linux distro; your mileage may vary. Our first goal is to download the Arduino IDE. If you’re running a different OS, you may follow different steps to install.
For me, the first thing that I’m going to do is update the latest package lists. Open up the terminal and type:
sudo apt-get update
Next, let’s install Ubuntu Make. Ubuntu Make is a command-line tool that allows us to setup our development environment with ease. In the terminal, type:
sudo apt-get install ubuntu-make
Next, we’ll use Ubuntu Make to install the Arduino IDE software. Back in the terminal, type:
umake electronics arduino
Once that’s complete, log out and back into your computer (or just restart). We’re now ready to start!
Step 2: Update Preferences in Arduino IDE
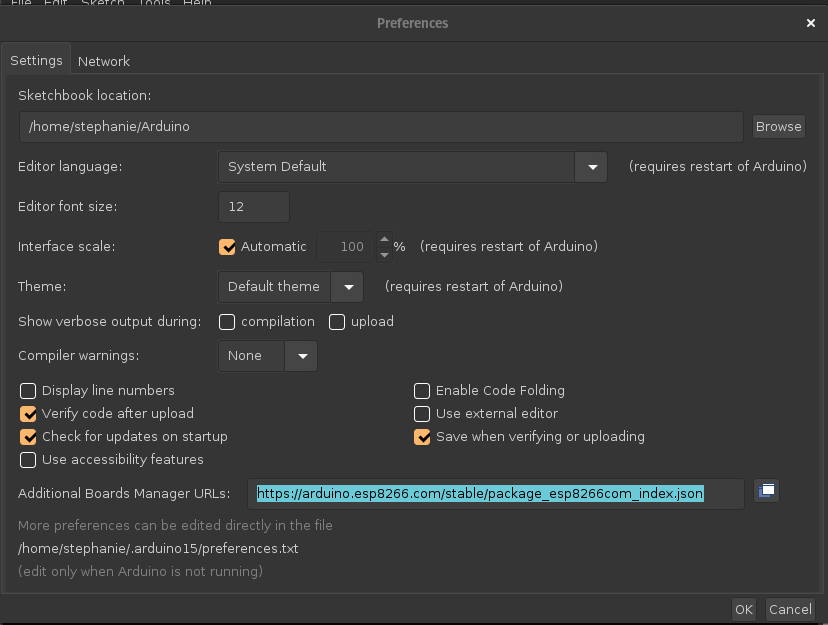
Next, we will need to add in the Boards Manager. Open Arduino IDE and navigate to File > Preferences.
In the empty space, add in Additional Boards Manager URLs: https://arduino.esp8266.com/stable/package_esp8266com_index.json
Note: If you already have URLs here, you may separate them with commas.
Step 3: Add the Generic ESP8266 Module Package
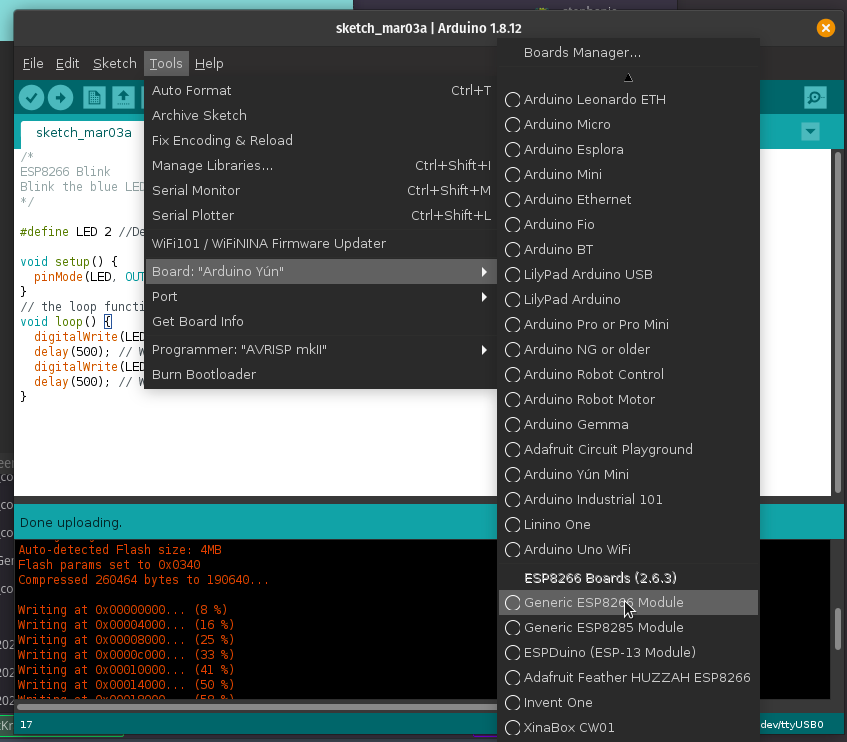
Now that the library is there, let’s add the ESP8266 package by navigating to Tools > Board(xxx) > Board Manager. Now search “esp8266”.
I selected the latest version to install:

Once installation is complete, click Tools > Board(xxx) > Generic ESP8266 Module to activate it.
Step 4: Plug it in & Identify the Port
Next, plug in the module via USB.
We need to find out which port the module is plugged into. Open the terminal once more, and type
dmesg
We’ll see a stream of some of the most recent things that have happened on your system: and if the last thing you did was plug in the ESP8266 module, you’ll see that at the very end.

In my case, the module is
ttyUSB0
Go back into the Arduino IDE and click Tools > Port and select the module that you identified in dmesg.
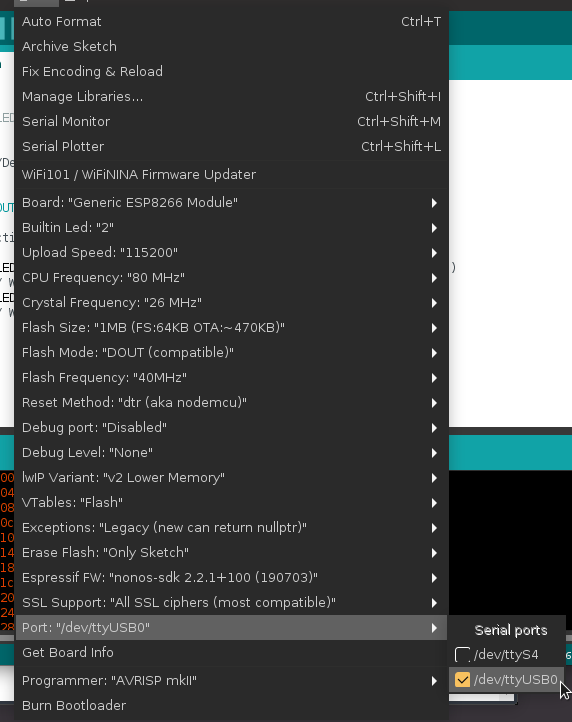
Step 5: Grant Access
If you’re like me, I had to do one additional step to grant perms to edit anything at that port.
Back in the terminal, type:
sudo chmod a+rw /dev/ttyUSB0
This is granting Read & Write access to “all” users.
I found that I had to provide perms every time I disconnected/reconnected it.
Step 6: Upload Sketch
Here’s our sketch code:
/*
ESP8266 Blink
Blink the blue LED on the ESP8266 module
*/

#define LED 2 //Define blinking LED pin

void setup() {
  pinMode(LED, OUTPUT); // Initialize the LED pin as an output
}
// the loop function runs over and over again forever
void loop() {
  digitalWrite(LED, LOW); // Turn the LED on (Note that LOW is the voltage level)
  delay(500); // Wait for a second
  digitalWrite(LED, HIGH); // Turn the LED off by making the voltage HIGH
  delay(500); // Wait for two seconds
}
Now we’re ready to click upload!
Upon clicking Upload, I will get prompted to save my sketch - this is something that is saved locally for use later.
As it’s running, I will see the text “Uploading..”

Some useful text that might be of interest is how much memory that we’re using. This sketch appears to use 26% of program storage space.
When it’s done, it will say “Done Uploading” and I will see my blinking LED!

